How to hide a view in a screenshot
You’re more of a video kind of person? I’ve got you covered! Here’s a video with the same content than this article 🍿
Advertisement
Authentication is critical, but it shouldn’t slow you down.
Clerk’s iOS SDK gives you secure sign-in, sessions, and user profiles out of the box, so you can focus on shipping great features
Sponsors like Clerk really help me grow my content creation, so if you have time please make sure to check out their survey: it’s a direct support to my content creation ☺️
If you ever need to hide the content of a view when the user takes a screenshot, you’ll soon realize that iOS doesn’t offer an official way to implement this behavior!
There’s a notification called userDidTakeScreenshotNotification that you can listen to, but as its name suggests, it will be fired after the screenshot has been taken.
So this notification will be fired too late for you to hide the content of a view…
However, there’s still a way to hide the content of a view during a screenshot!
Keep in mind that it’s not an official method, so it’s not guaranteed to keep working in future versions of iOS.
For this, we’re going to use a built-in UIKit view, that actually implements the behavior of hiding its content during a screenshot.
It’s a component that we’re all familiar with: UITextField.
But a UITextField with the property isSecureTextEntry set to true:
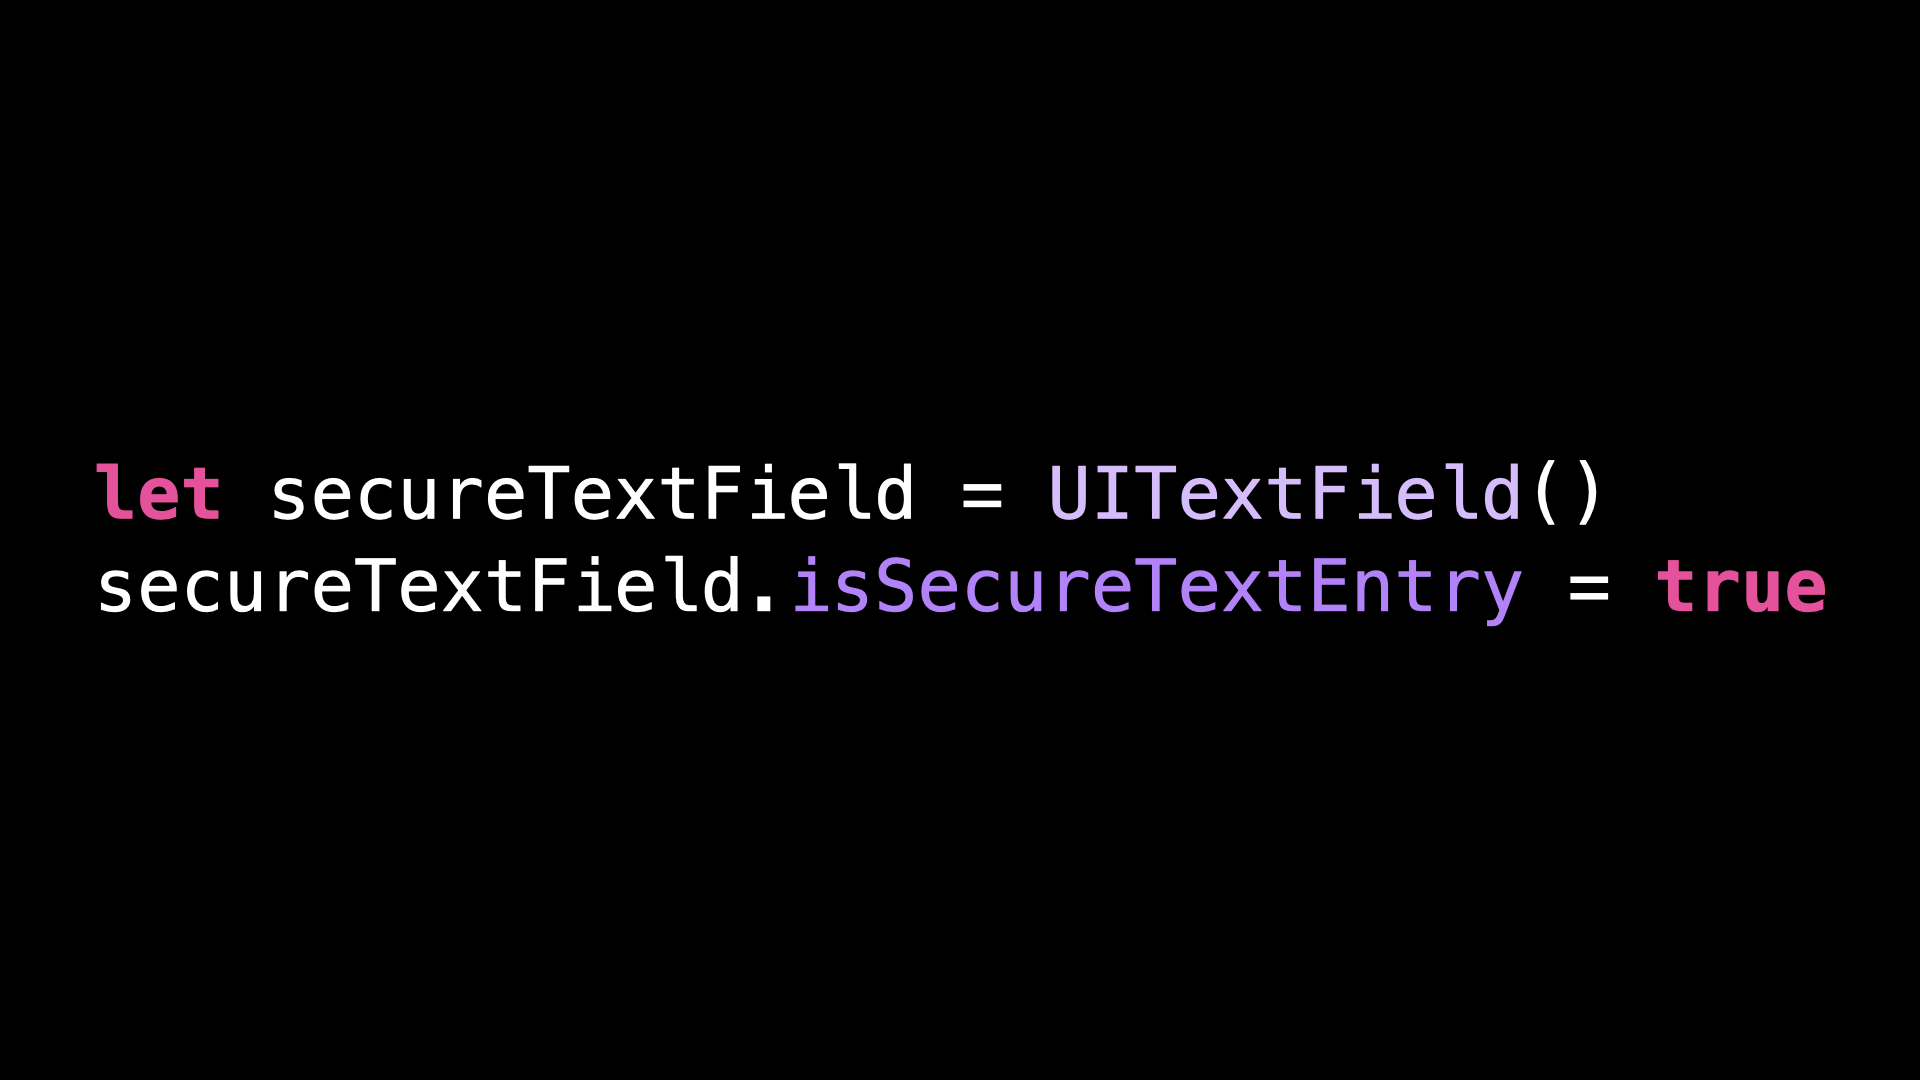
Because such a text field is meant to input sensitive information, like a password, it automatically hides its content when a screenshot is taken.
So how can we take advantage of this behavior in order to apply it to an arbitrary view?
As it turns out, it’s actually quite simple!
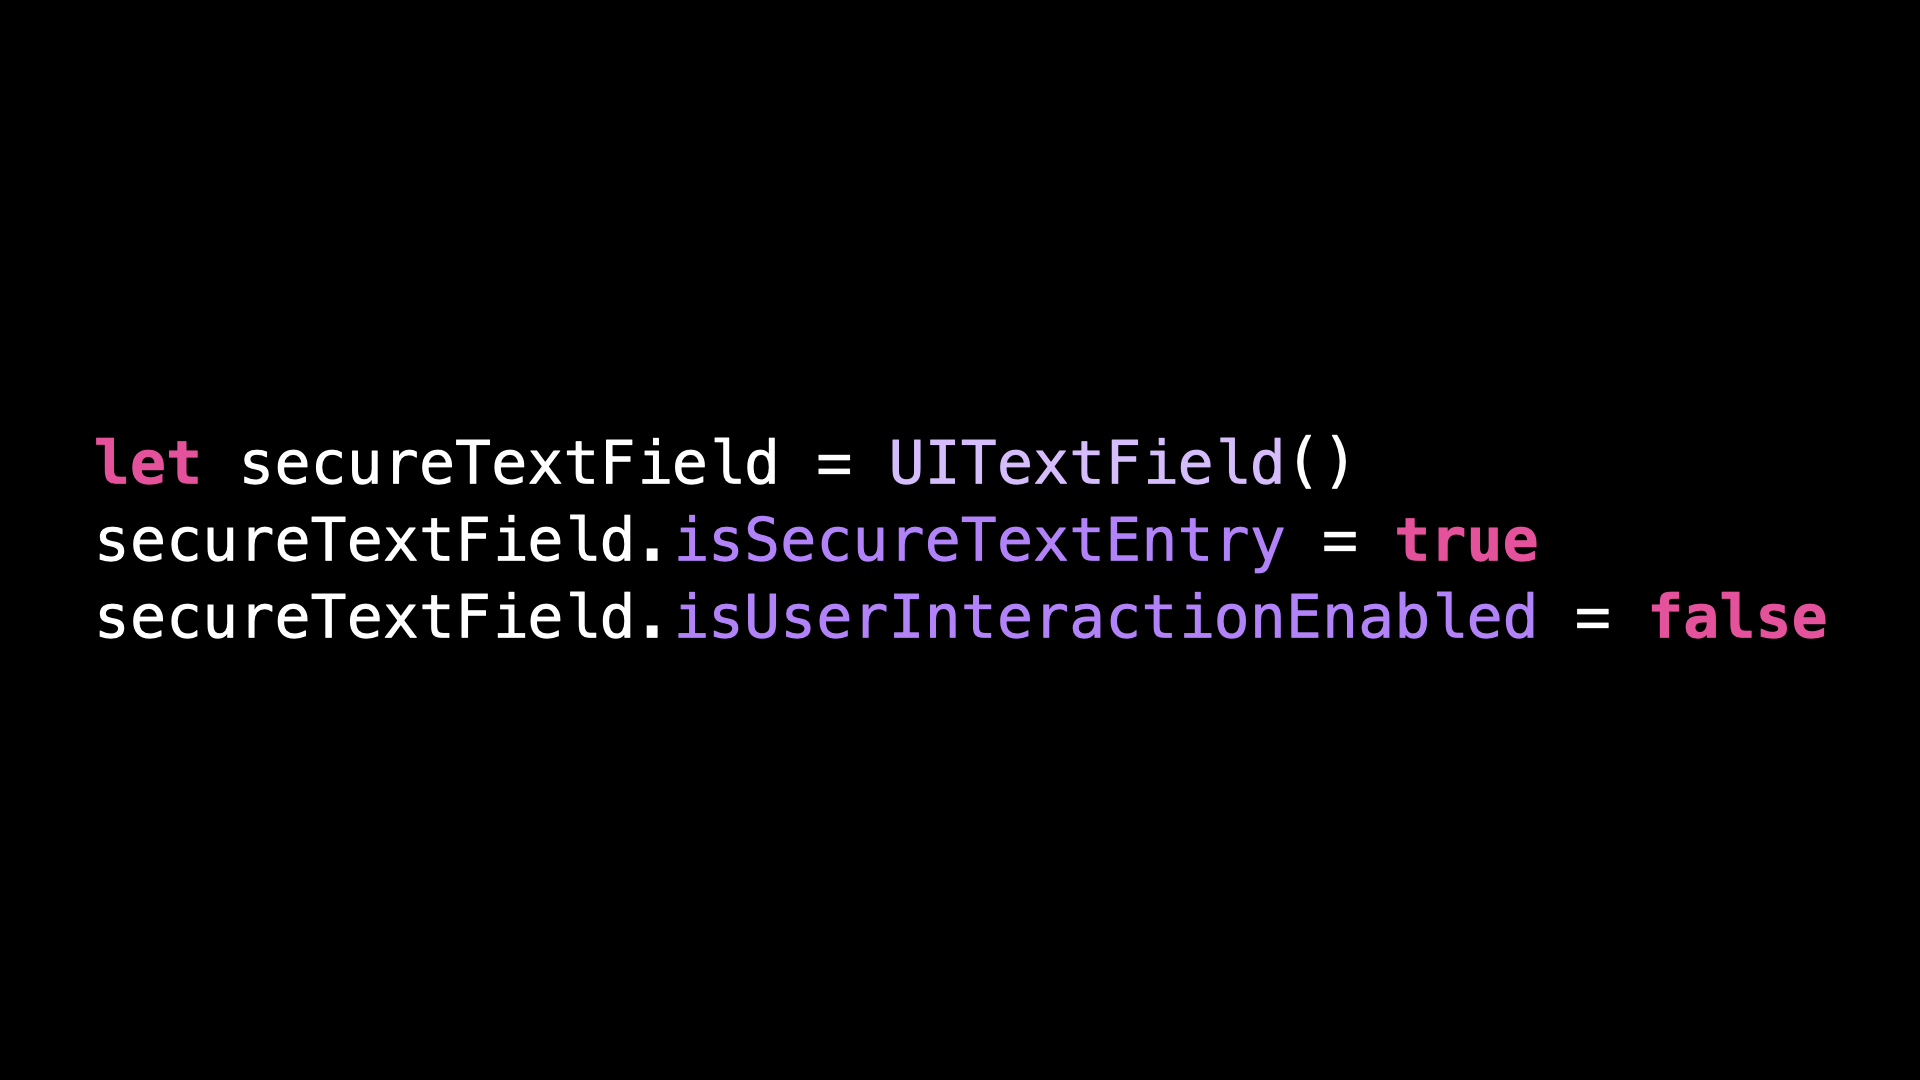
First, we set the property isUserInteractionEnabled to false, so that the user can’t mistakenly interact with the text field:
Then, we get the subview that actually implements the hiding behavior, and we disconnect it from its subviews and superview:
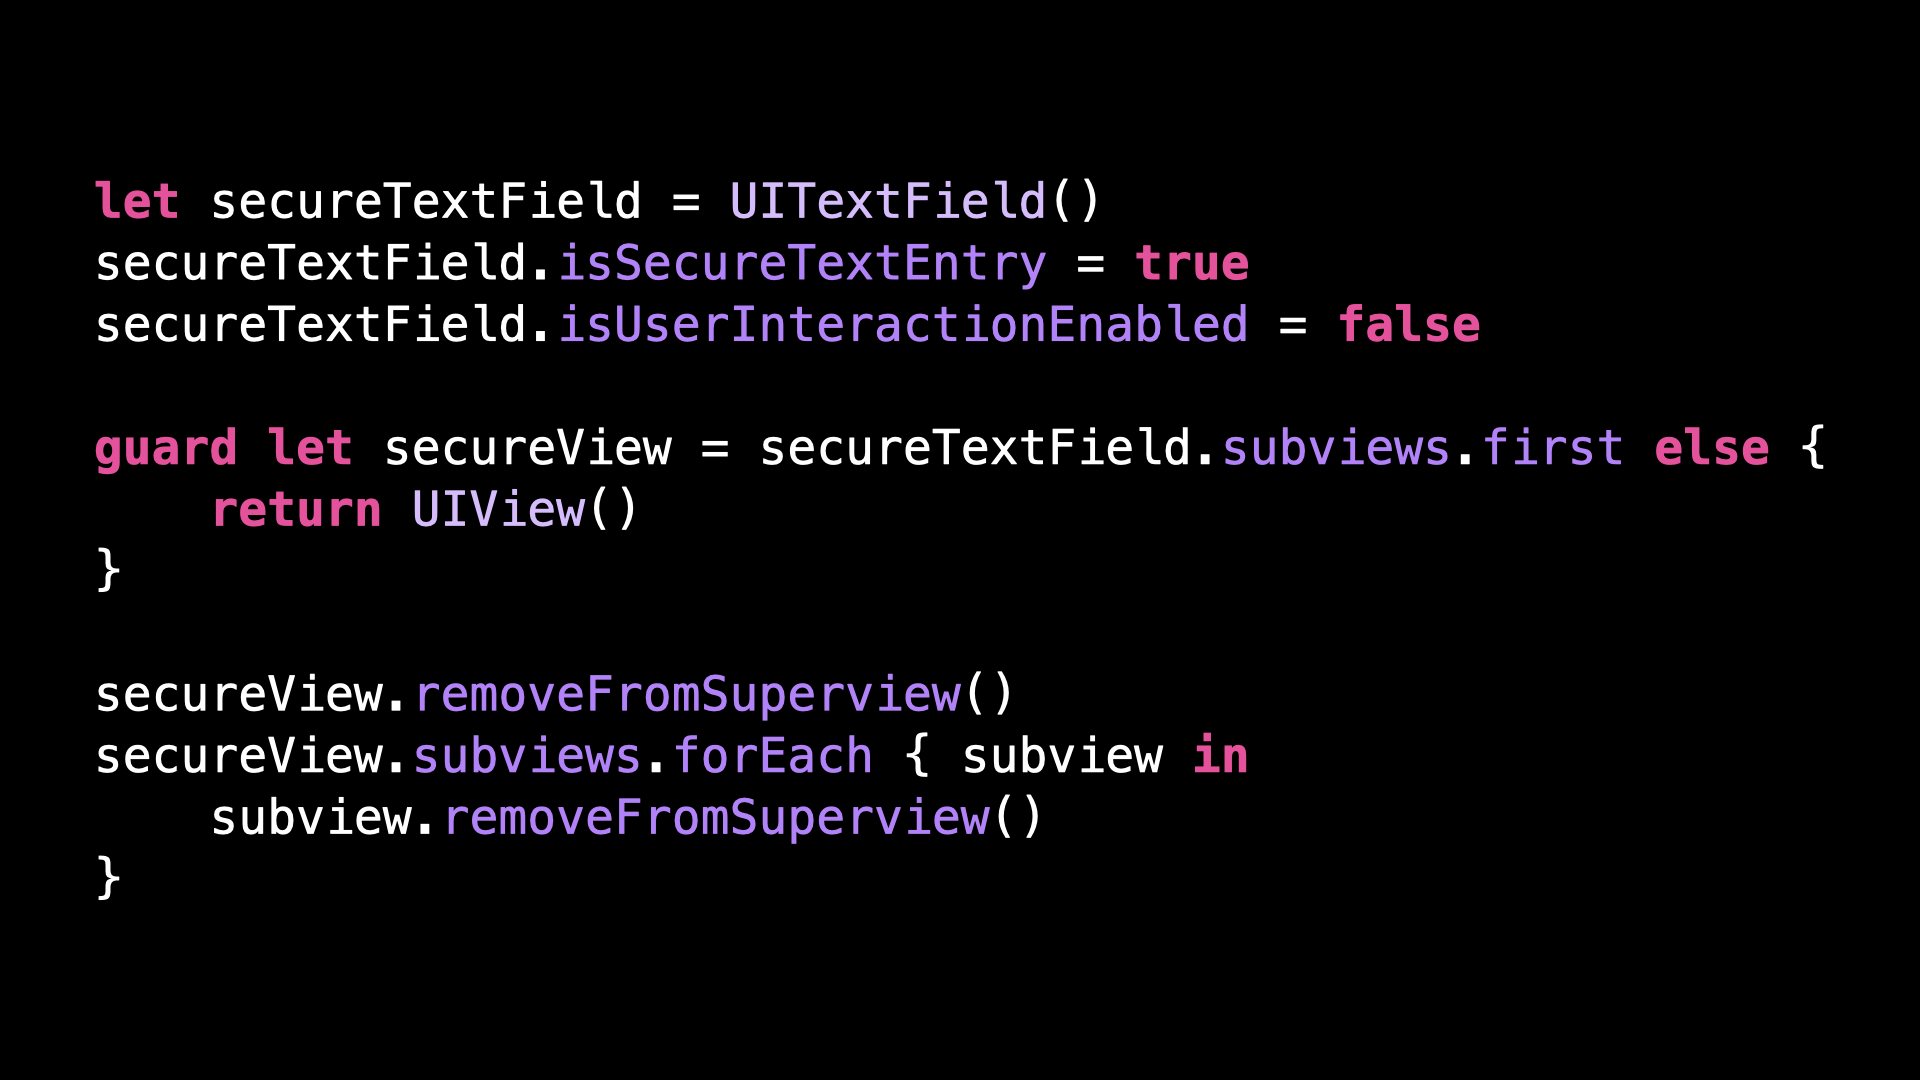
(As you can notice, this code feels quite hacky and it’s a good reminder that this trick is not guaranteed to keep working in future iOS versions!)
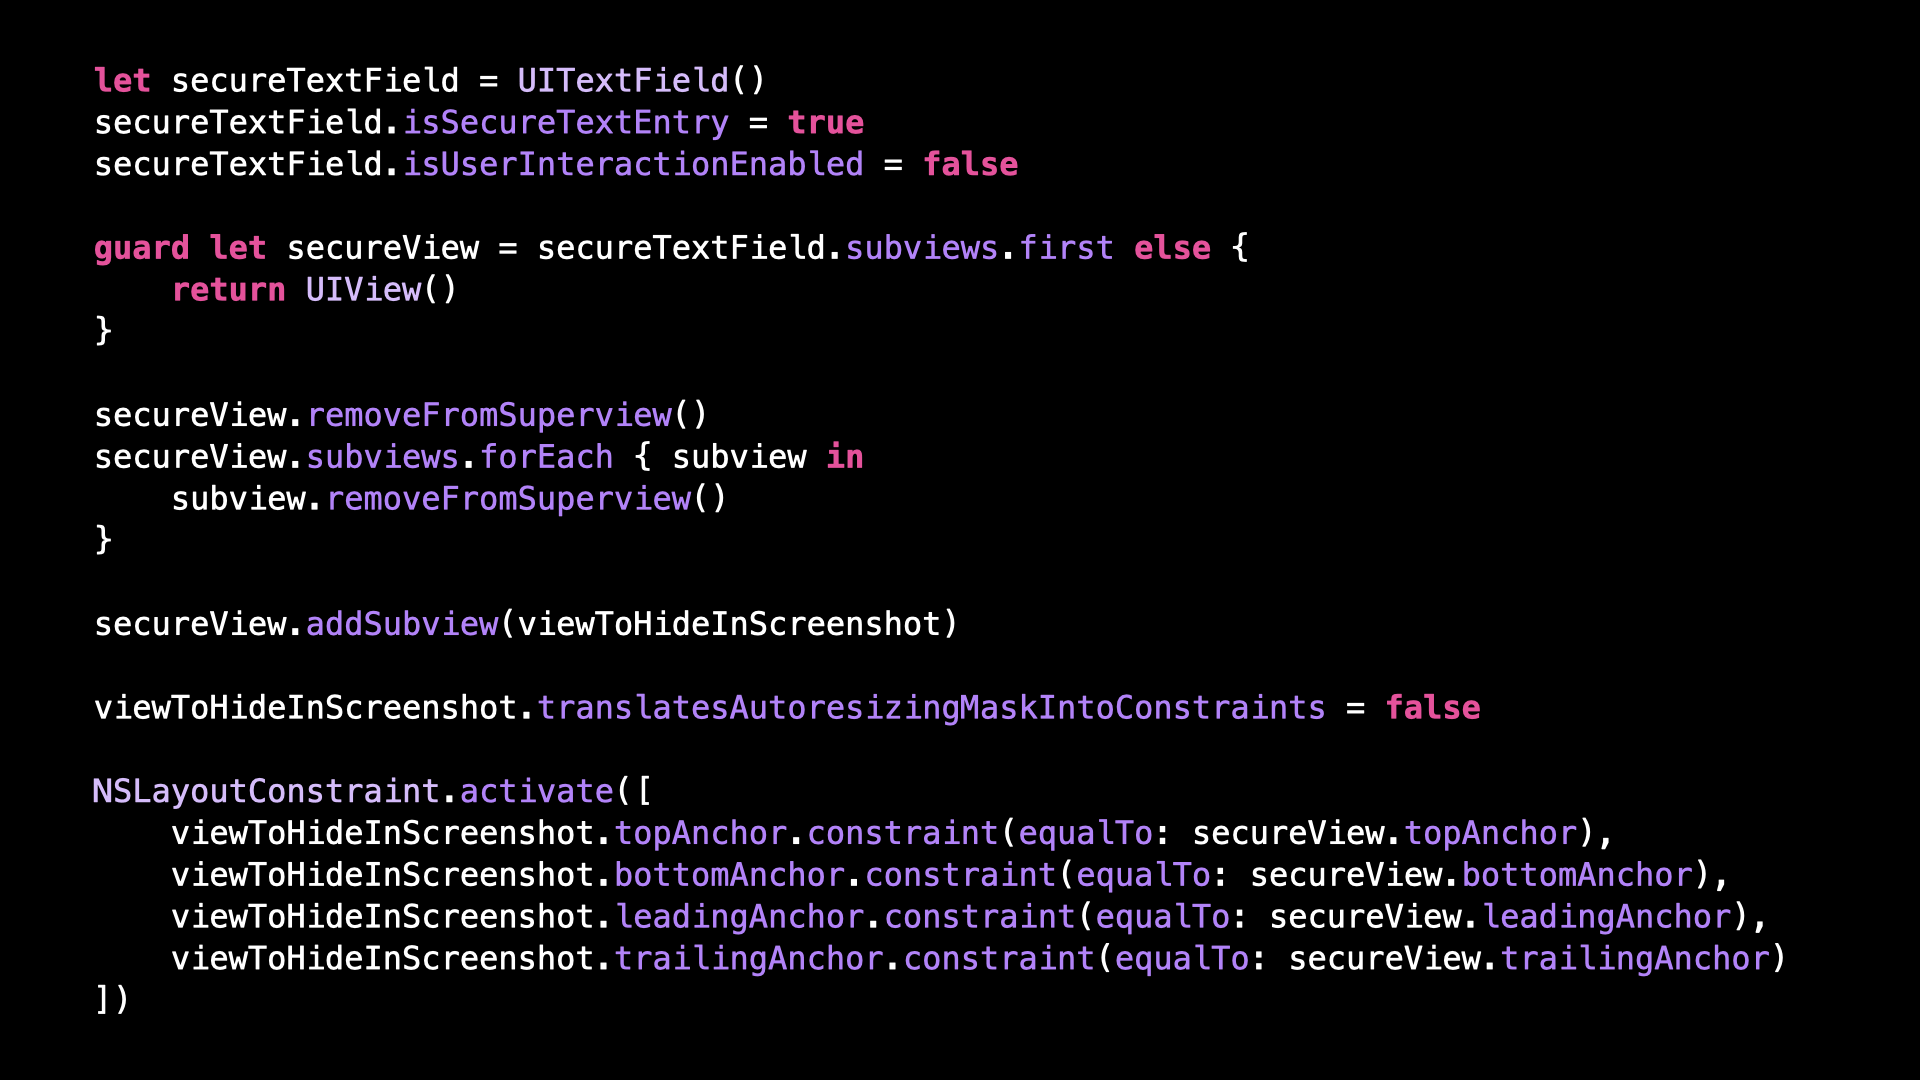
And finally, we simply add the view that we want to hide in screenshots as a subview:
So let’s give it a try!
I’m going to wrap the code into a UIViewRepresentable, so that we can easily use it in SwiftUI.
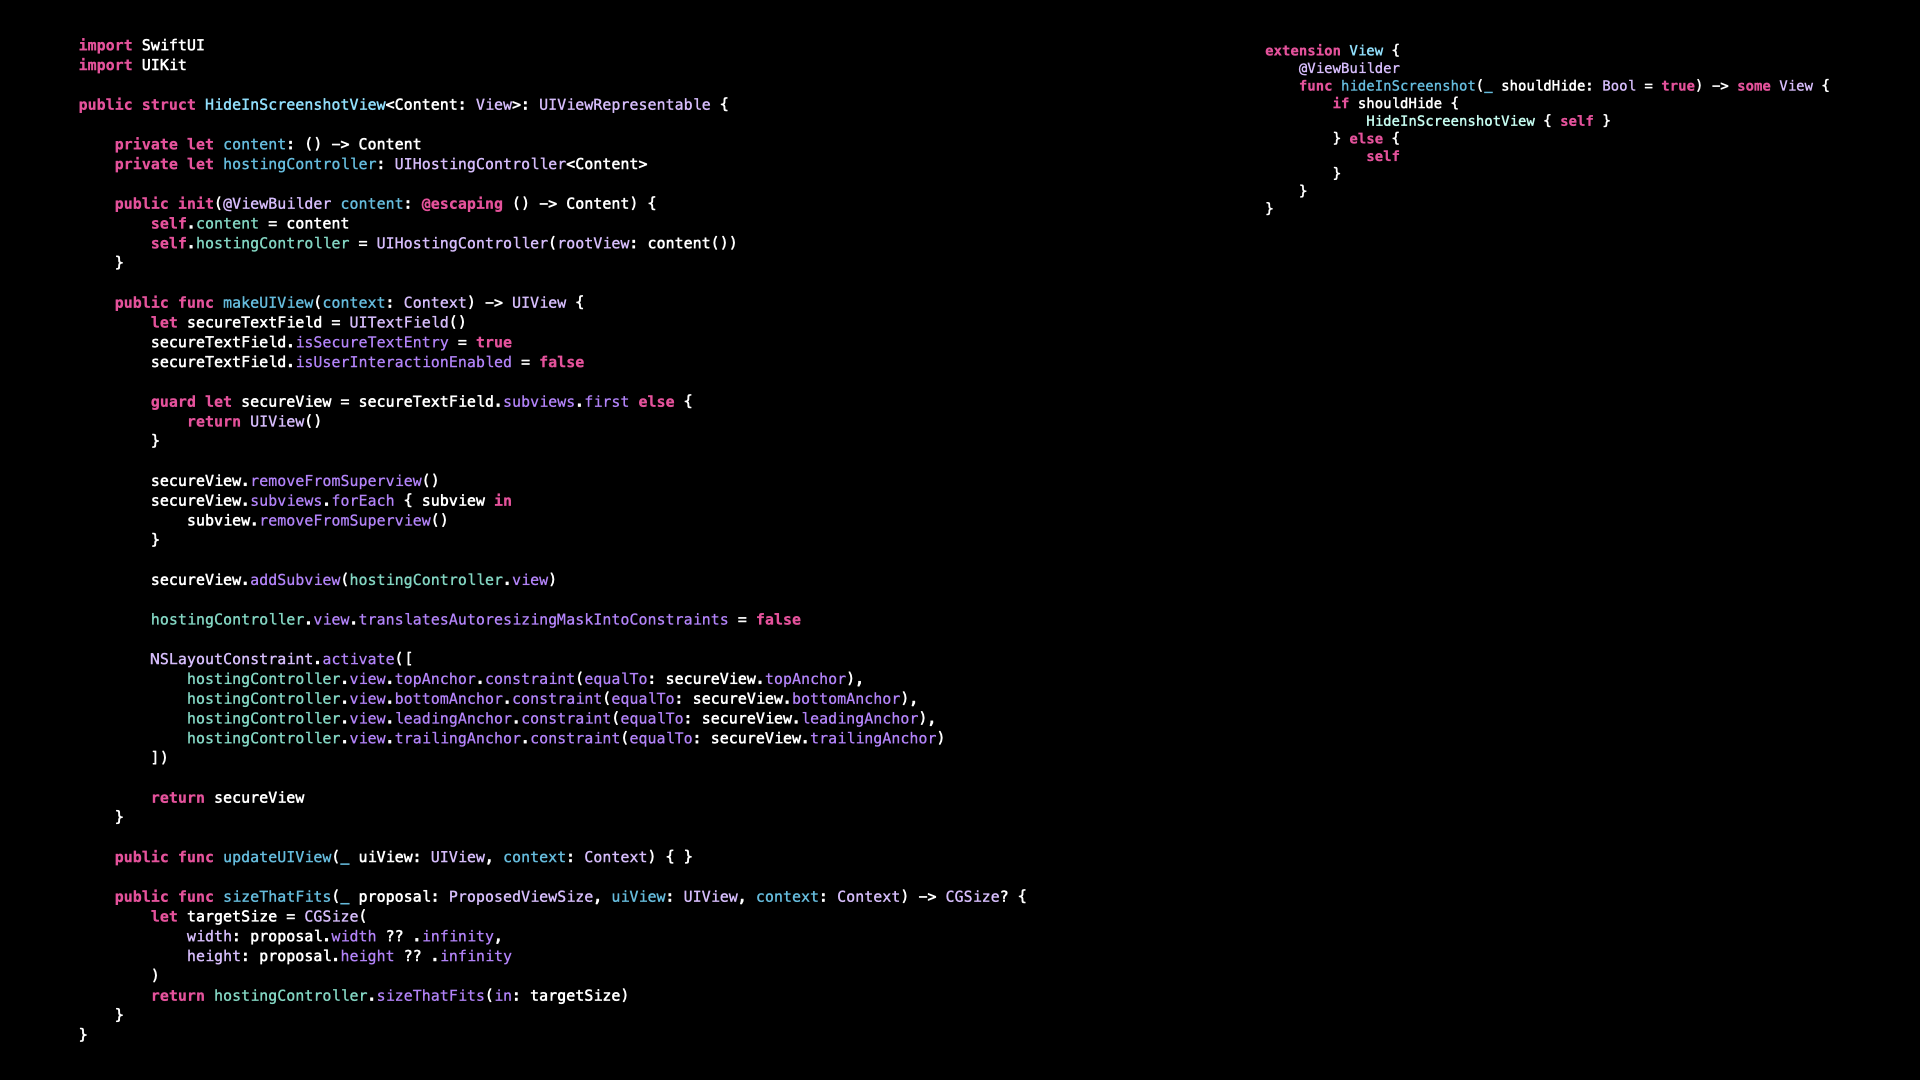
There’s quite a bit of code, but it’s really nothing more than the standard boilerplate to make a UIKit view usable in SwiftUI.
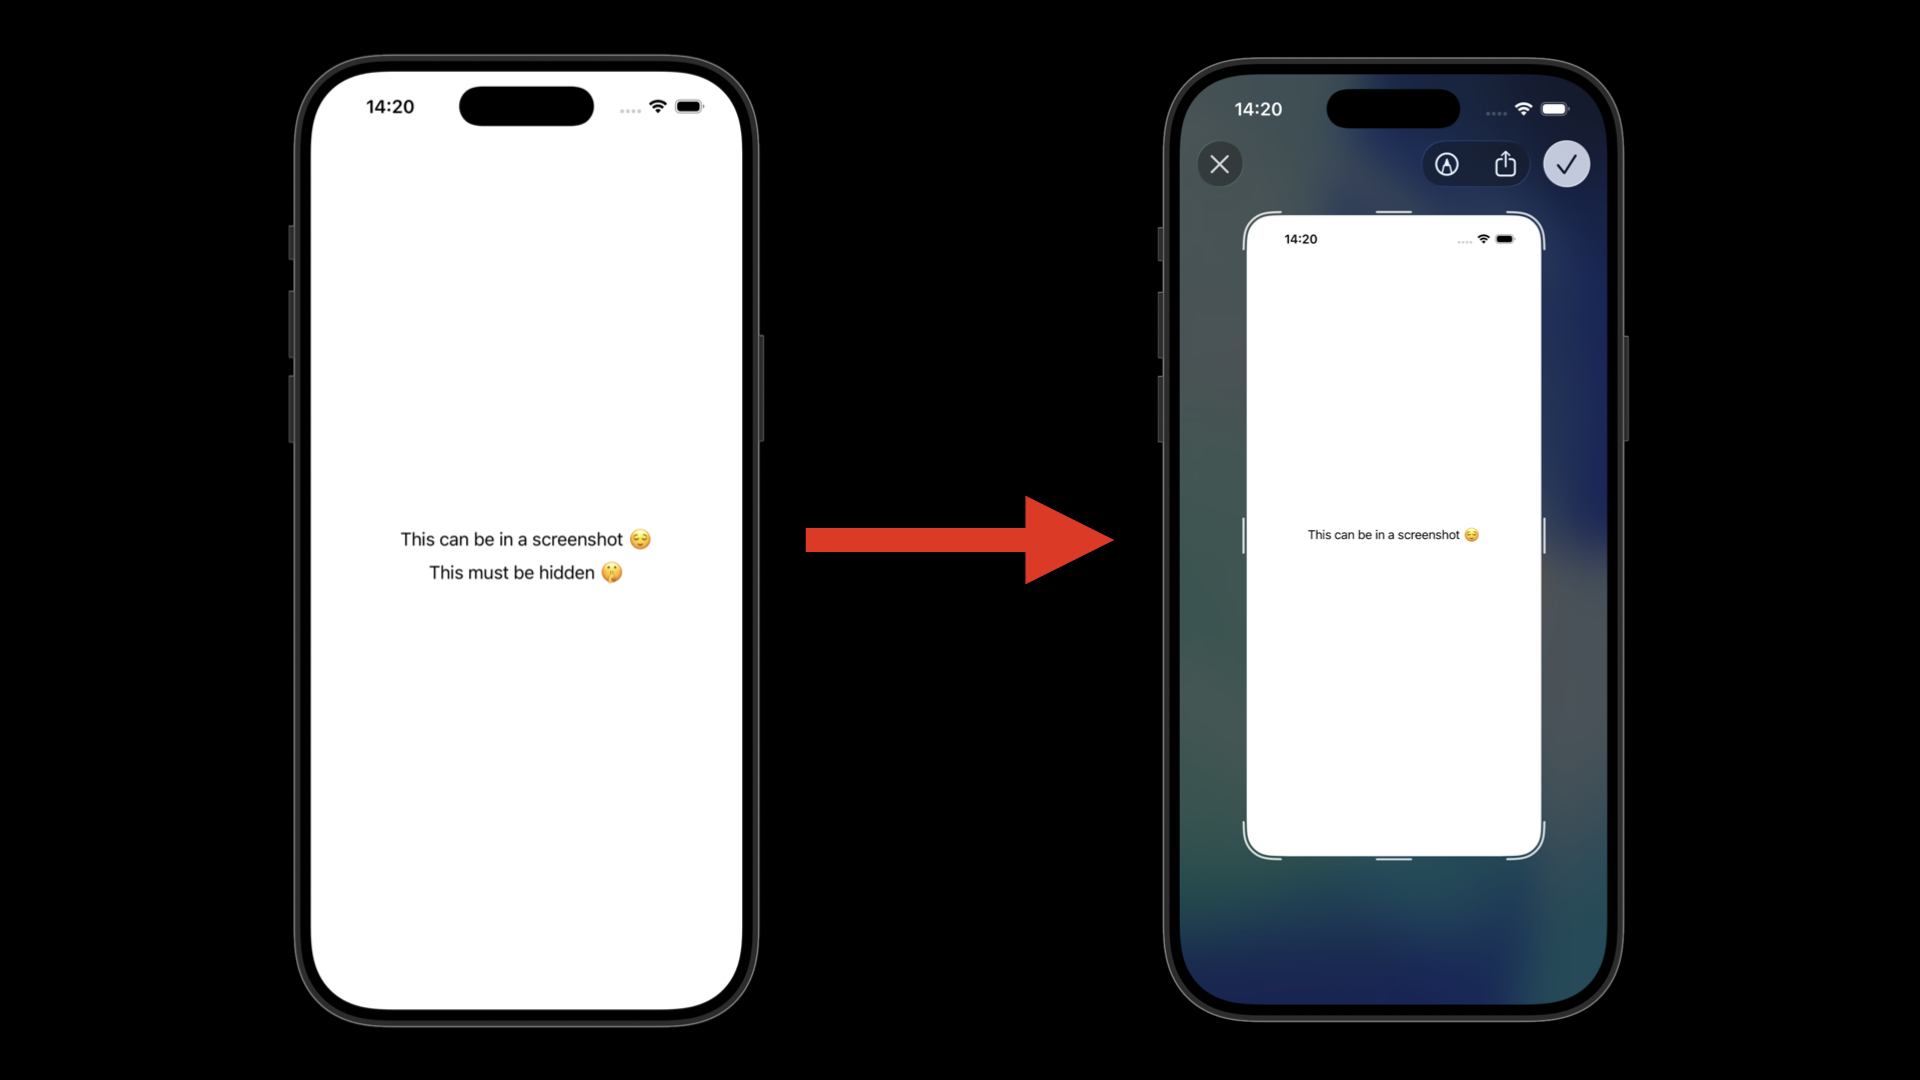
And now all I need to do is to apply the modifier to a view, launch the simulator and take a screenshot:
As you can see, the view on which I attached the modifier doesn’t appear in the screenshot!
And if you were wondering, yes this view will also be hidden in screen recordings!
Now before we end, one word of warning!
If you end up using this code and you want to test it in the simulator, make sure to take the screenshot like I did: using the command menu Devicethen Trigger Screenshot.
Because if instead you use the button above the simulator or the shortcut Command + S, you’ll notice that the view is still present in the screenshot:
And that’s actually totally normal!
It’s because the simulator takes these screenshots by simply saving the content of the screen of the emulated iPhone to an image file, completely by passing iOS internal screenshot mechanism.
So basically, this is just like if you were to take a photo of the screen of your iPhone: it’s normal that the modifier doesn’t have an effect in this situation!
That’s all for this article, here’s the code if you want to experiment with it!
import SwiftUI
import UIKit
public struct HideInScreenshotView<Content: View>: UIViewRepresentable {
private let content: () -> Content
private let hostingController: UIHostingController<Content>
public init(@ViewBuilder content: @escaping () -> Content) {
self.content = content
self.hostingController = UIHostingController(rootView: content())
}
public func makeUIView(context: Context) -> UIView {
let secureTextField = UITextField()
secureTextField.isSecureTextEntry = true
secureTextField.isUserInteractionEnabled = false
guard let secureView = secureTextField.subviews.first else {
return UIView()
}
secureView.removeFromSuperview()
secureView.subviews.forEach { subview in
subview.removeFromSuperview()
}
secureView.addSubview(hostingController.view)
hostingController.view.translatesAutoresizingMaskIntoConstraints = false
NSLayoutConstraint.activate([
hostingController.view.topAnchor.constraint(equalTo: secureView.topAnchor),
hostingController.view.bottomAnchor.constraint(equalTo: secureView.bottomAnchor),
hostingController.view.leadingAnchor.constraint(equalTo: secureView.leadingAnchor),
hostingController.view.trailingAnchor.constraint(equalTo: secureView.trailingAnchor)
])
return secureView
}
public func updateUIView(_ uiView: UIView, context: Context) { }
public func sizeThatFits(_ proposal: ProposedViewSize, uiView: UIView, context: Context) -> CGSize? {
let targetSize = CGSize(
width: proposal.width ?? .infinity,
height: proposal.height ?? .infinity
)
return hostingController.sizeThatFits(in: targetSize)
}
}
extension View {
@ViewBuilder
func hideInScreenshot(_ shouldHide: Bool = true) -> some View {
if shouldHide {
HideInScreenshotView { self }
} else {
self
}
}
}
struct ContentView: View {
var body: some View {
VStack {
Text("This can be in a screenshot 😌")
Text("This must be hidden 🤫")
.hideInScreenshot()
}
.padding()
}
}